| Platform | ✅ Web ✅ Mobile |
|---|---|
| Plan | ✅ Standard ✅ Professional ✅ Premium |
| User Type | ✅ Administrator ✅ Technician ❌ Limited Technician ❌ Requester ❌ Extended Requester |
ⓘ Note
Only the technician and the system administrator can add Work Orders, skipping the path:
notification -> acceptance -> Work Order.
Only the technician and the system administrator can add Work Orders, skipping the path:
notification -> acceptance -> Work Order.
Adding a Work Order using the mobile app step by step #
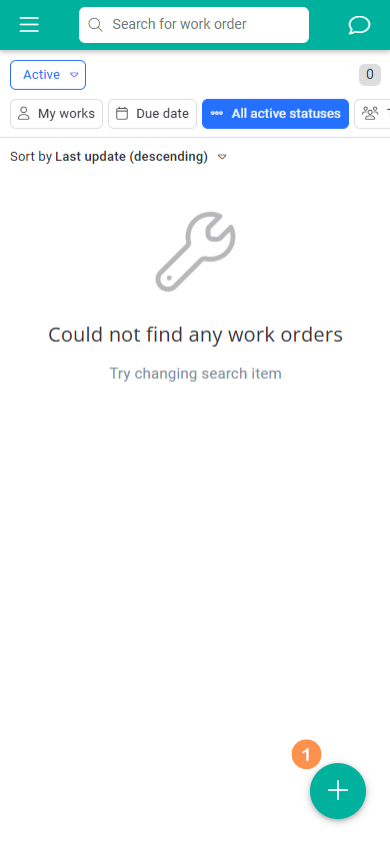
- Launch the QRmaint application on your mobile device.
- Log in to your QRmaint user account.
- Click ” + “

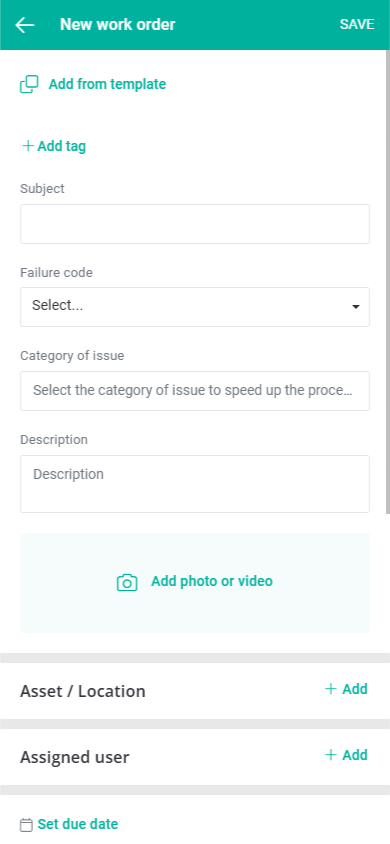
- Click New Work Order.
- Complete the Work Order form and click Save .

Adding a Work Order using the desktop application installed on your PC step by step #
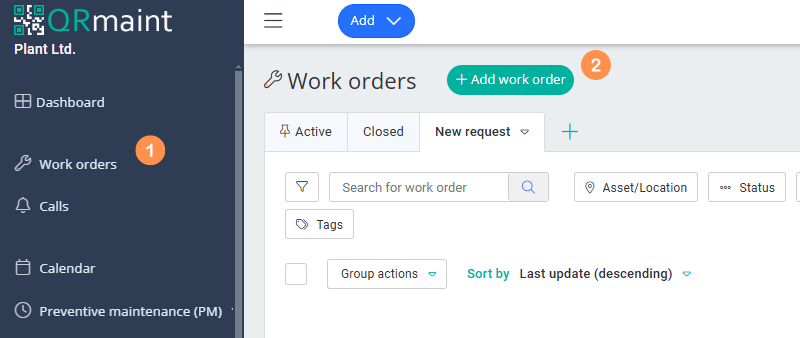
- Log in to your QRmaint technician or system administrator account.
- In the main menu, select Work Orders
- Select + Add Work Orders

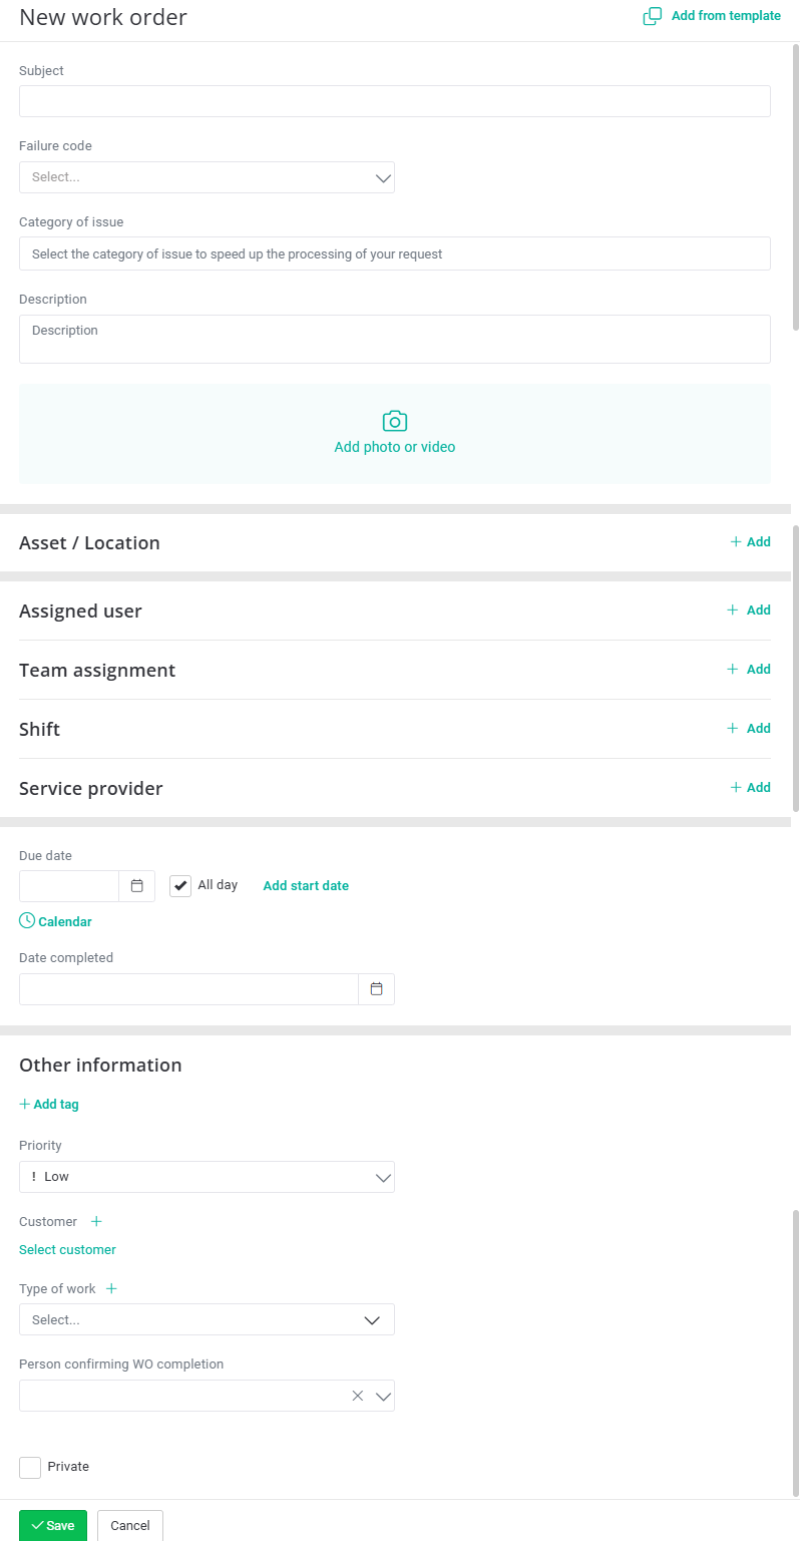
- Complete the Work Order form and click Save .
 ⓘ Tip
ⓘ Tip
The Work Order form can be configured according to your needs. The description of this step can be found in the chapter Setting up forms Work Orders
A quick way to issue Work Orders is to use a previously created template. By clicking Fill in from template the information from the selected template will be automatically copied to the new Work Order. Information on how to create a Work Order template can be found in the chapter Adding a new Work Order template .ⓘ Tip
The Work Order should have a short title and description of the work to be performed.
The Work Order should have a specified location or be issued for a specific device.
The Work Order should have a person responsible for its execution.
You can assign a priority to the Work Order and specify the type of Work Order : failure, defect, inspection, calibration or legalization.ⓘ Note
The failure Work Order is only possible for devices or a production line. If we issue a Work Order for a location, it will not be possible to select a failure .


